When Should You Install a Radon Mitigation System?
Protect Your Home and Family from Invisible Danger
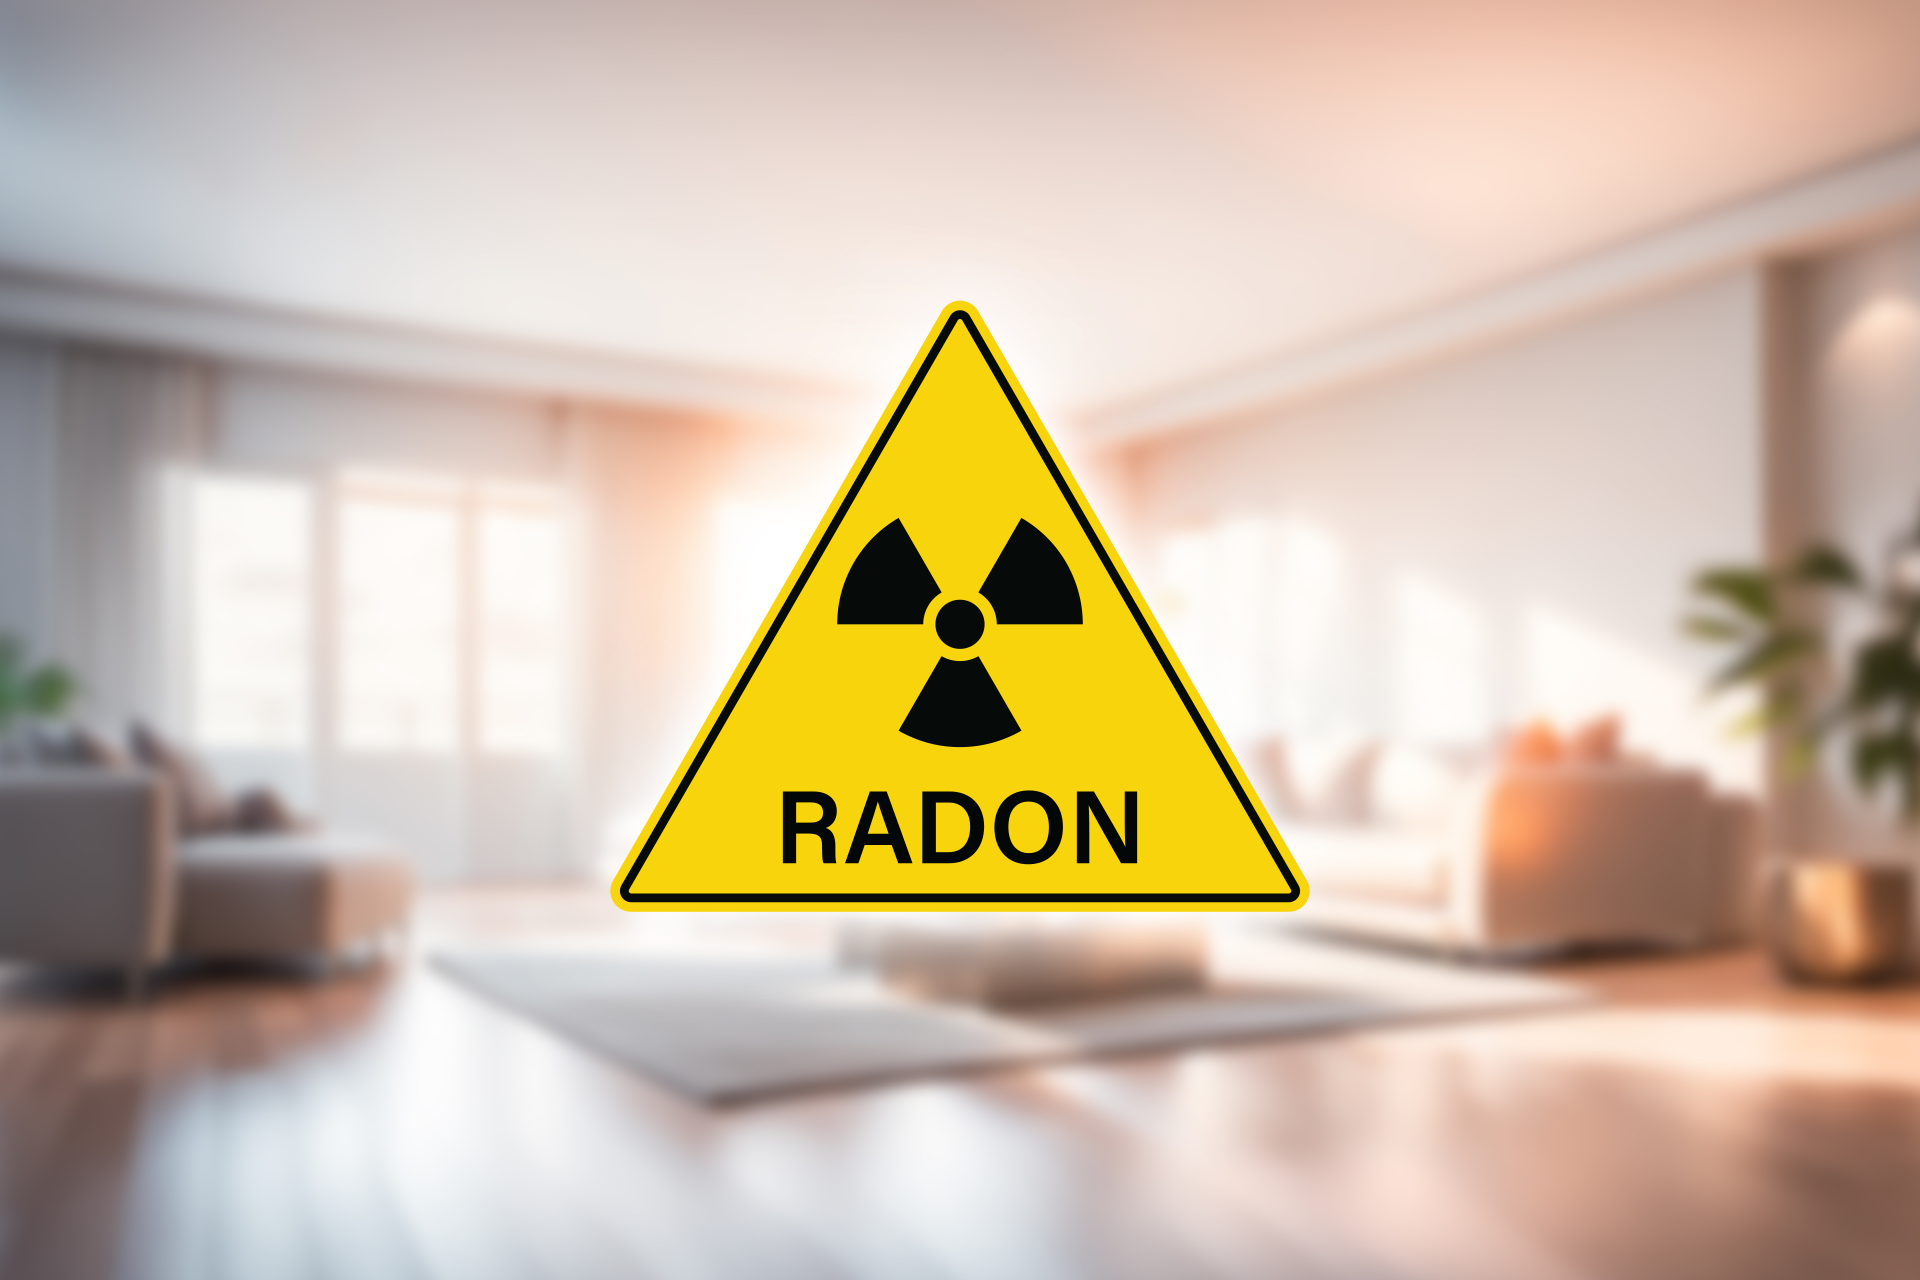
Radon is a naturally occurring radioactive gas that can seep into homes from the soil beneath the foundation. It’s colorless, odorless, and tasteless, which means you can’t detect it without proper testing. According to the EPA, radon is the second leading cause of lung cancer in the United States, making it a serious health concern for homeowners.
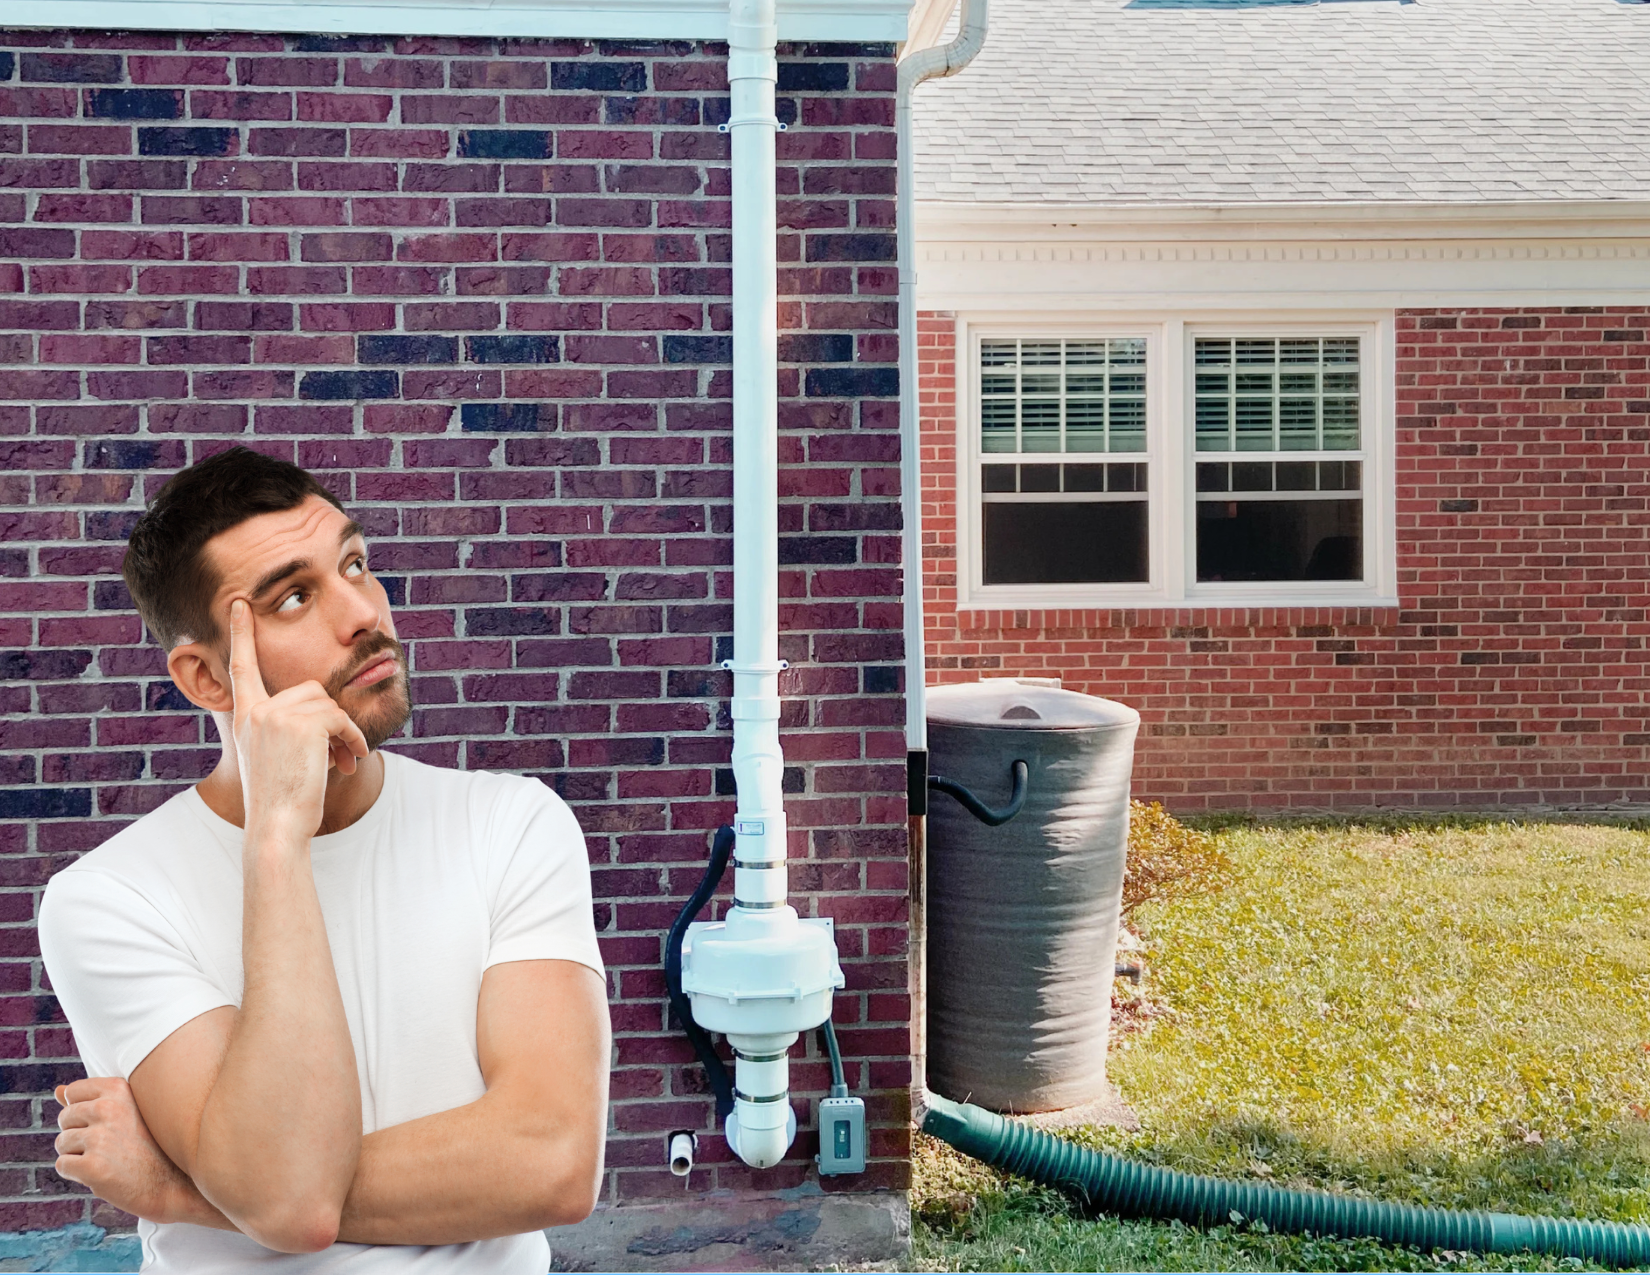
Installing a radon mitigation system is the most effective way to reduce elevated radon levels and protect your family. But the question many homeowners ask is: when should you install a radon mitigation system? In this blog post, we’ll explore the timing, signs, and best practices for installing a radon mitigation system in your home.
Understanding Radon and Its Risks
Radon forms naturally when uranium in soil, rock, and water breaks down. It moves through the soil and can enter homes through cracks in the foundation, gaps around pipes, sump pits, and other openings.
Exposure to radon over time increases your risk of lung cancer. The EPA recommends taking action if radon levels in your home are 4 picocuries per liter (pCi/L) or higher. However, even lower levels can pose a risk over long-term exposure.
The good news is that radon mitigation systems are highly effective at reducing indoor radon levels, sometimes by up to 99%.
Signs You May Need a Radon Mitigation System
Because radon is undetectable by sight or smell, testing is the only way to know if your home has elevated radon levels. Here are the primary indicators that a mitigation system may be necessary:
1. Test Results Show Elevated Levels
The most straightforward sign that you need a mitigation system is a radon test result of 4 pCi/L or higher. Even levels slightly below this threshold can justify mitigation, especially for long-term exposure.
2. Home Has a Basement or Crawl Space
Radon gas naturally accumulates in lower areas of your home. Homes with basements, crawl spaces, or slab-on-grade foundations are particularly susceptible.
3. Recent Construction or Renovations
Changes to your home’s foundation or ventilation can alter radon entry pathways. If you’ve recently completed construction, renovations, or finished a basement, testing is critical.
4. Previous Homeowner Reports
If the previous owner had radon mitigation installed or mentioned elevated radon levels, it’s wise to inspect the system or test the home before moving in.
5. Living in High-Radon Areas
Certain regions, including parts of Tennessee where Swift Radon serves, are known for higher radon potential due to soil composition. Homeowners in these areas should be especially proactive.
Best Time to Install a Radon Mitigation System
Timing is critical to ensure your system is effective and your home remains safe.
Immediately After a Positive Test
If your radon test shows levels above the EPA action threshold (4 pCi/L), you should schedule a mitigation system installation as soon as possible. Delaying exposes your family to prolonged risk.
During Home Purchase or Sale
Many homebuyers choose to test for radon during inspections. If elevated levels are found, installing a mitigation system before moving in ensures safety from day one.
During Renovations or Foundation Work
Renovations, basement finishing, or foundation repairs can impact radon entry points. Installing a mitigation system after structural changes ensures it addresses the updated pathways radon may use to enter your home.
After Any System Failure
If you already have a mitigation system but notice signs of malfunction, such as unusual fan noise, low manometer readings, or visible damage, a system inspection and possible reinstallation may be necessary.
Types of Radon Mitigation Systems
Understanding the type of system you need can help you plan installation effectively. The most common systems include:
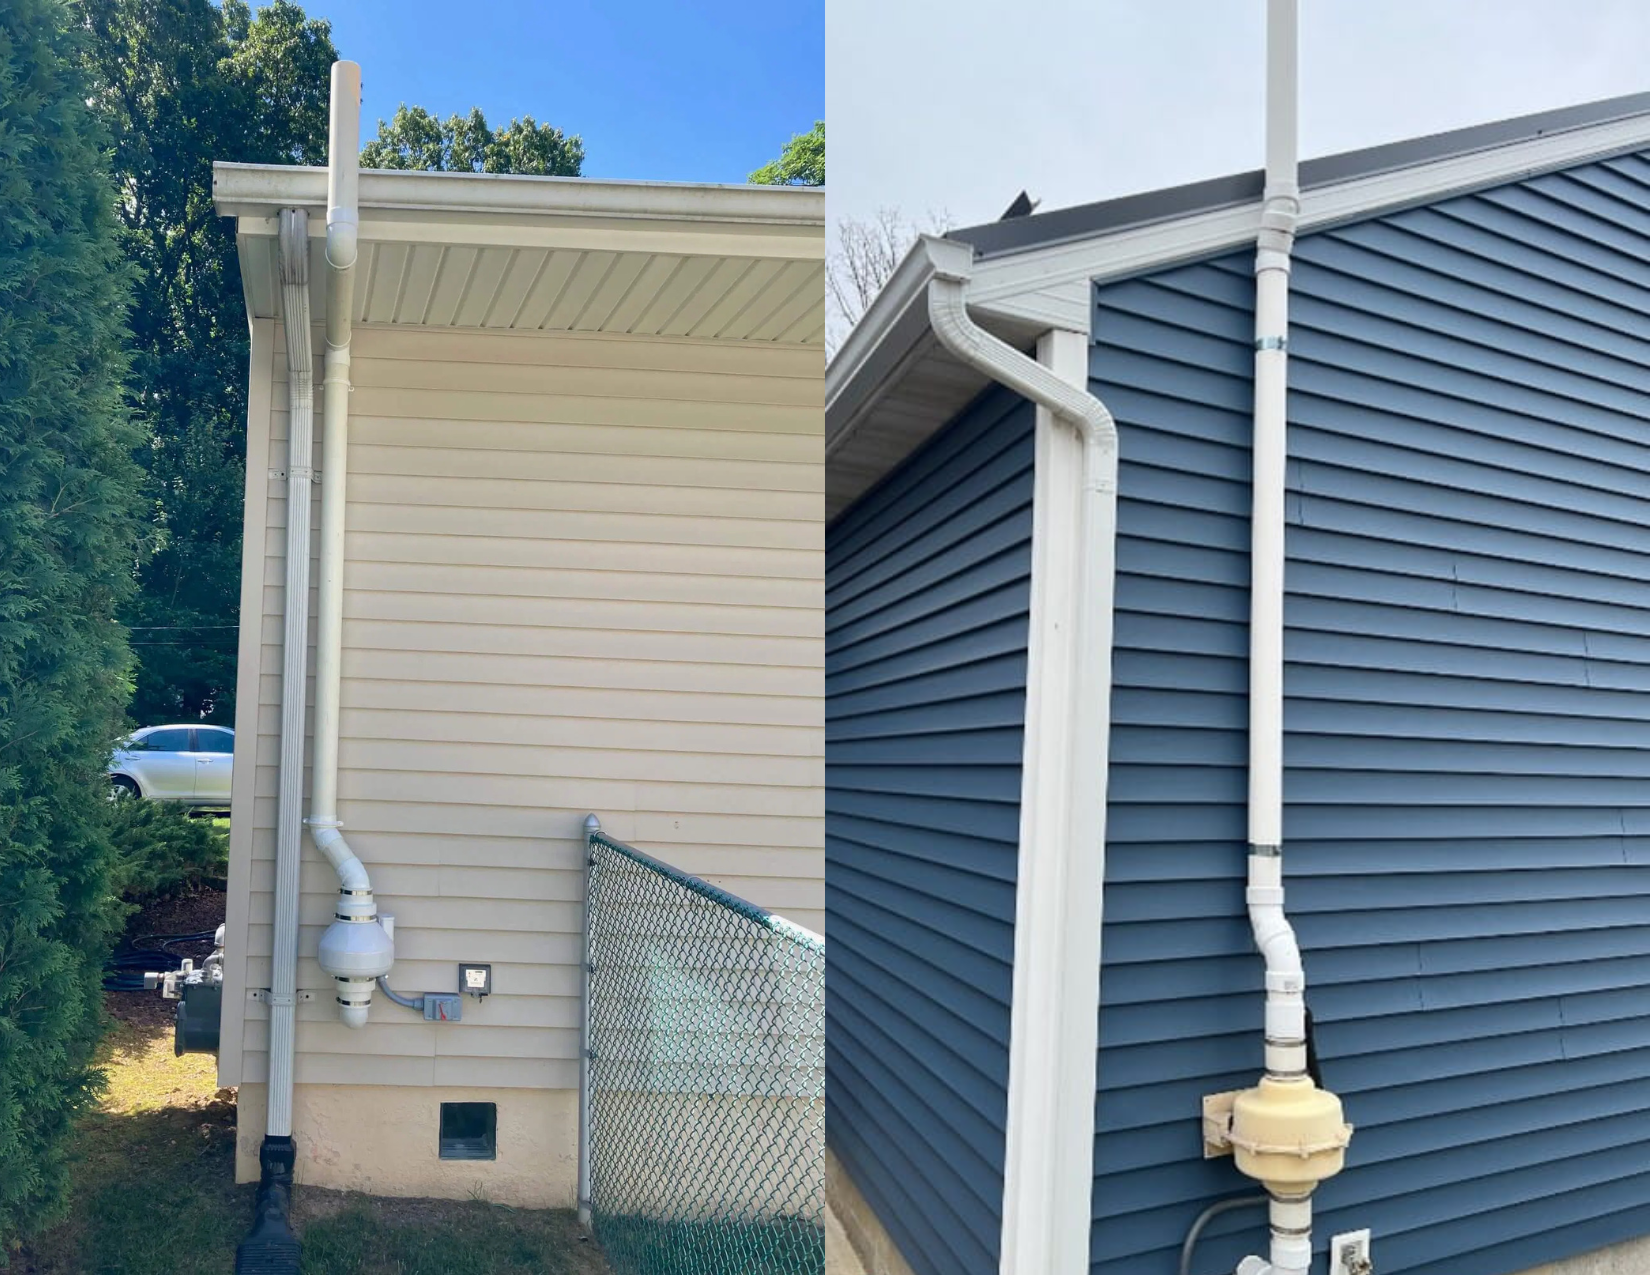
1. Sub-Slab Depressurization
This system uses a fan to draw radon gas from beneath the foundation and vent it safely outside. It is the most common and effective method for homes with basements or slab foundations.
2. Crawl Space Ventilation
For homes with crawl spaces, venting radon gas from under the floor can reduce levels. Sealing entry points and improving airflow enhances system effectiveness.
3. Block Wall Depressurization
Some homes have radon entering through hollow block walls. Specialized systems target these areas with fans and venting to reduce radon levels.
4. Passive Systems
Some new constructions include passive systems, such as vent pipes that rely on natural airflow. While effective initially, these may need active fan installation if radon levels rise.
Steps to Take Before Installation
Proper preparation ensures your mitigation system works efficiently and lasts for years:
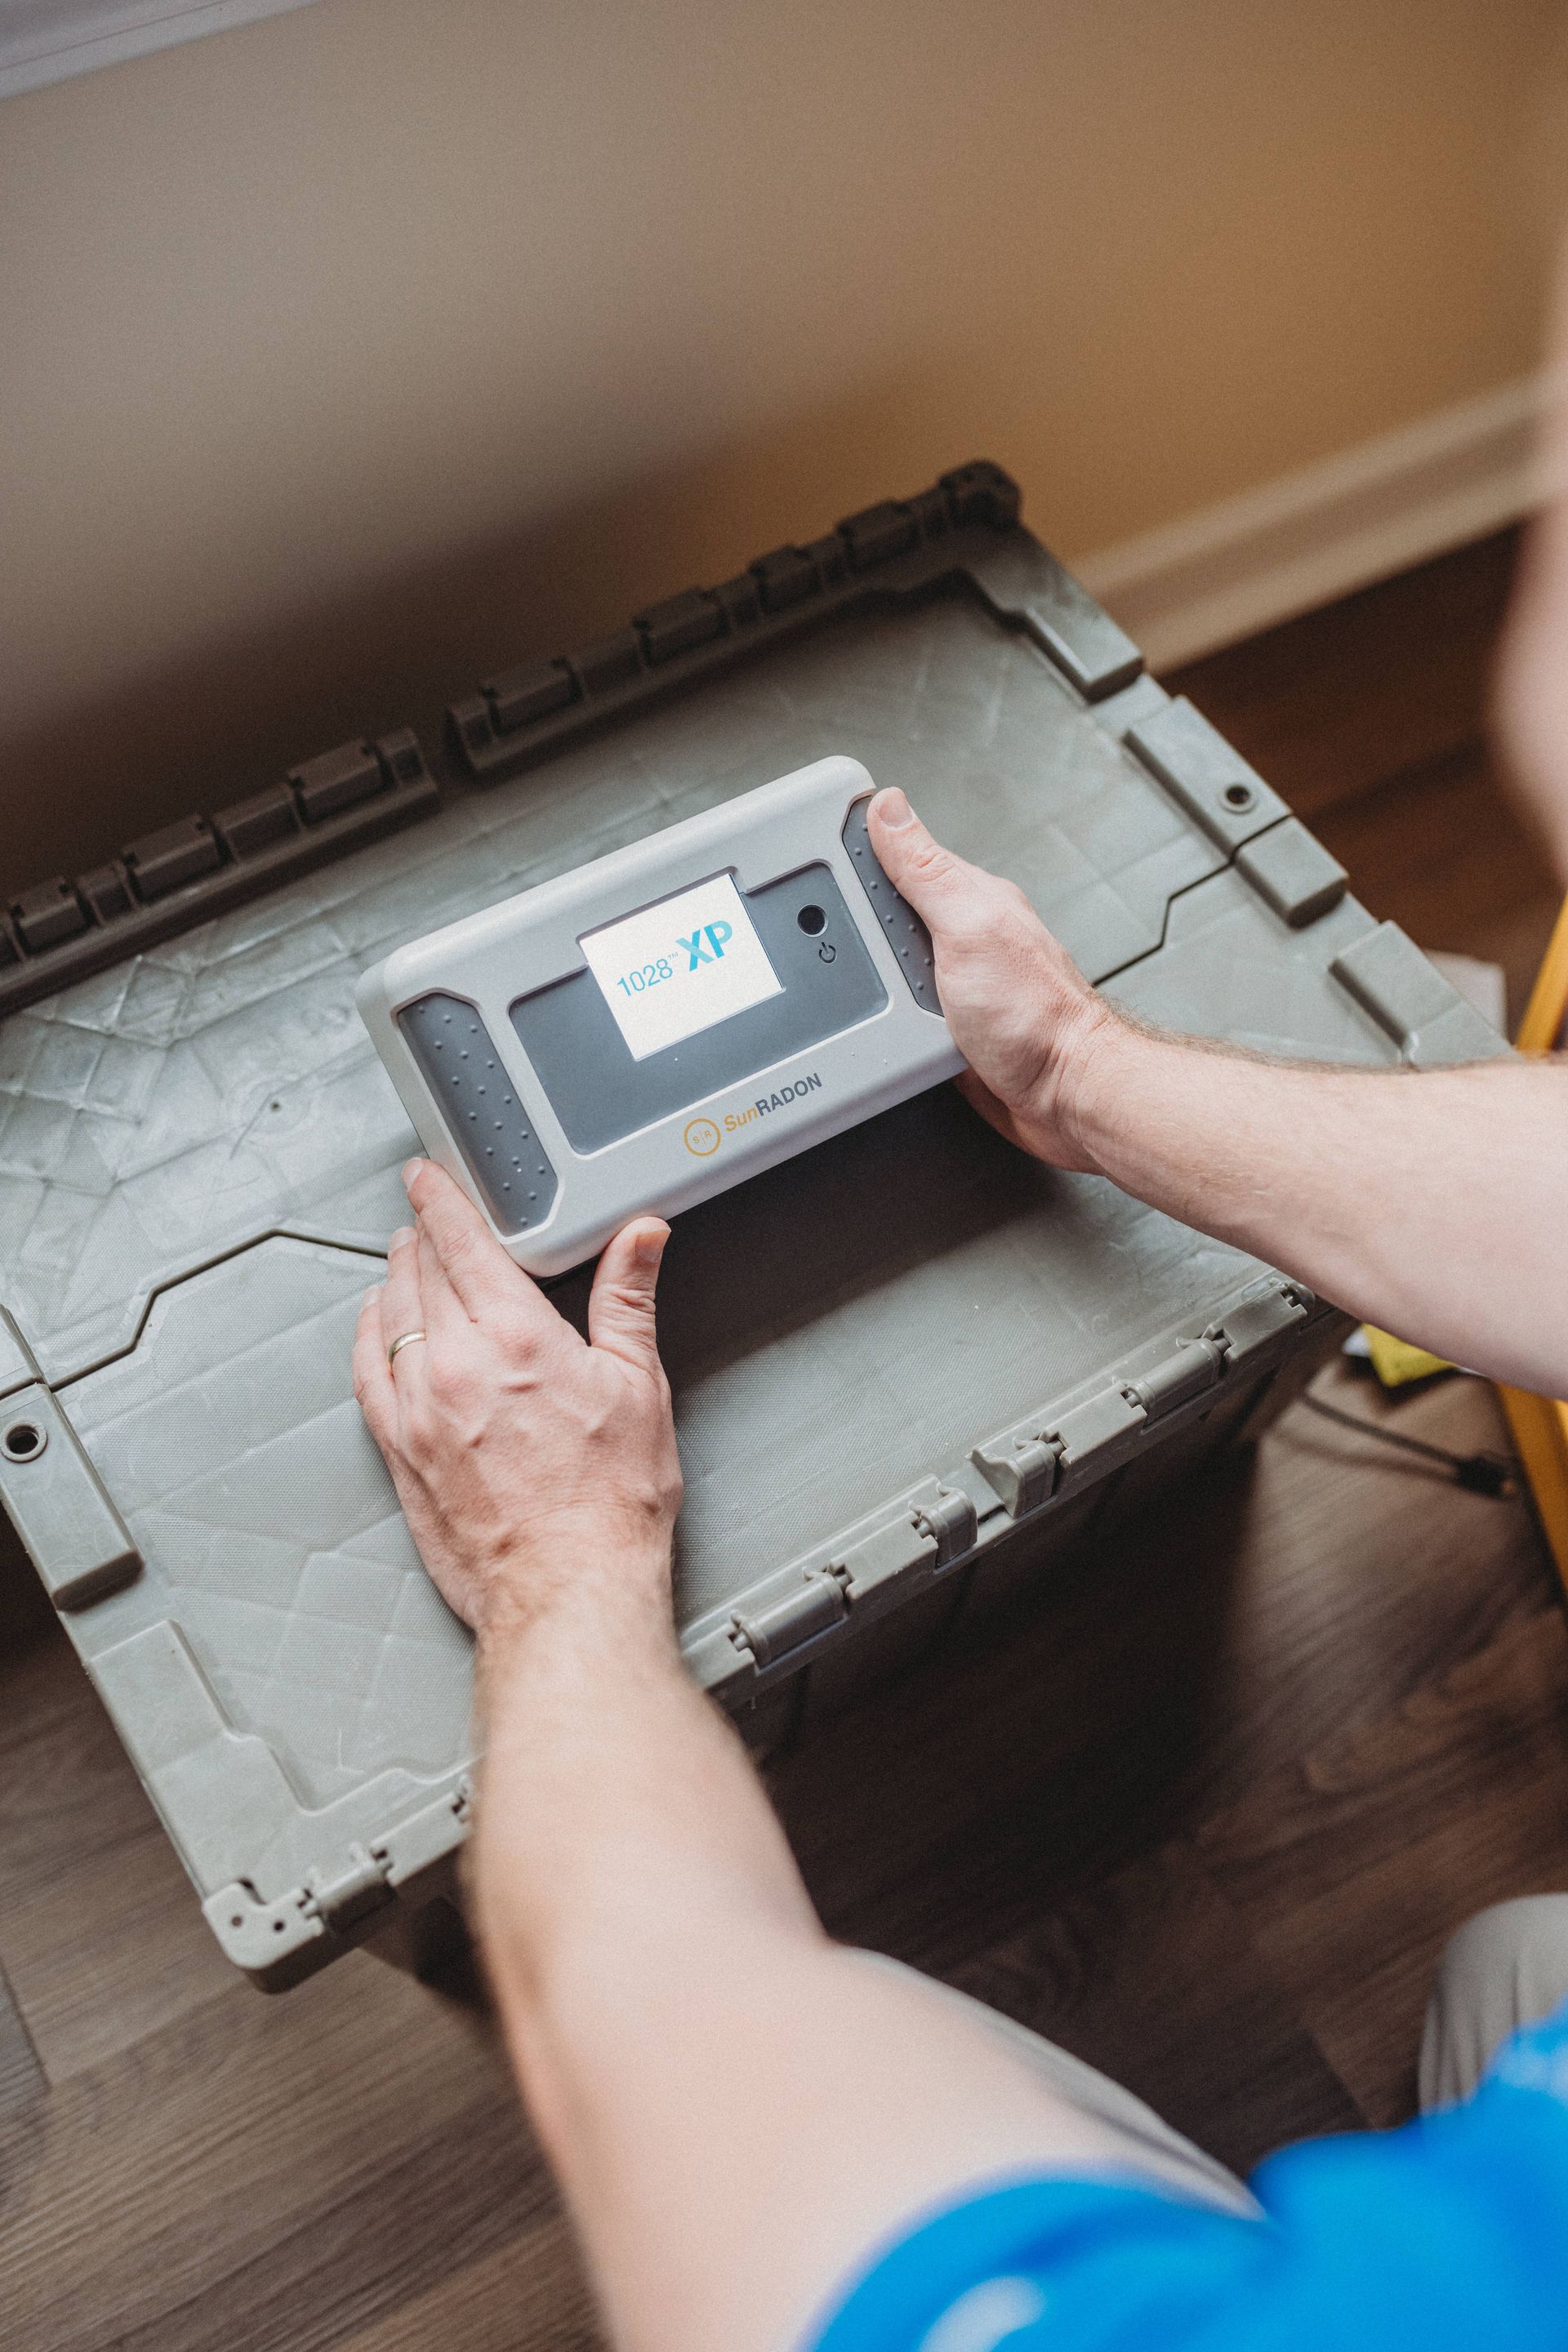
- Test Your Home – Conduct a certified radon test to determine if mitigation is necessary.
- Inspect the Foundation – A professional will examine cracks, gaps, and entry points.
- Choose the Right System – Based on your home type, foundation, and radon levels.
- Hire a Certified Installer – A professional ensures proper installation, compliance with regulations, and long-term effectiveness.
- Plan for Post-Installation Testing – After the system is installed, conduct follow-up testing to verify results.
Benefits of Installing a Radon Mitigation System
Installing a mitigation system provides peace of mind and long-term protection:
- Reduces Health Risks – Lowering radon levels significantly reduces lung cancer risk.
- Protects Property Value – Homes with safe radon levels are more attractive to buyers.
- Ensures Long-Term Safety – A properly maintained system continues to protect your home for years.
- Peace of Mind – Knowing your family is safe from invisible dangers offers priceless reassurance.
Maintenance and Inspections
Once installed, your system requires periodic inspections to maintain effectiveness:
- Check the fan and electrical connections
- Inspect the vent pipes for damage
- Monitor the manometer or gauge to ensure proper suction
- Address any changes to the foundation or home structure
Swift Radon offers professional mitigation system inspections to ensure your system continues working optimally.
Conclusion
Radon exposure is a serious but preventable risk. Knowing when to install a radon mitigation system is the first step toward safeguarding your home and family. If your radon test shows elevated levels, don’t wait, installation should be scheduled promptly.
A professionally installed mitigation system provides peace of mind, long-term protection, and a healthier indoor environment.
Contact
Swift Radon today to schedule your radon mitigation system installation and protect your home.
Frequently Asked Questions
How do I know if I need a radon mitigation system?
The only way to know is through a certified radon test. If levels are 4 pCi/L or higher, mitigation is recommended.
Can I install a mitigation system myself?
DIY installations are not recommended. Professional installation ensures proper venting, fan operation, and compliance with safety regulations.
How long does radon testing take?
Most installations take one day, depending on the size and complexity of your home.
Do mitigation systems require maintenance?
Yes. Regular inspections and occasional fan replacements keep the system effective.
Will a mitigation system completely eliminate radon?
Systems typically reduce radon levels by up to 99%, often bringing them below EPA action limits.
Disclaimer: The information on this website and blog is for general informational purposes only and is not professional advice. We make no guarantees of accuracy or completeness. We disclaim all liability for errors, omissions, or reliance on this content. Always consult a qualified professional for specific guidance.
Search Blog
Recent Posts